Top Quilting Machines for Homes:
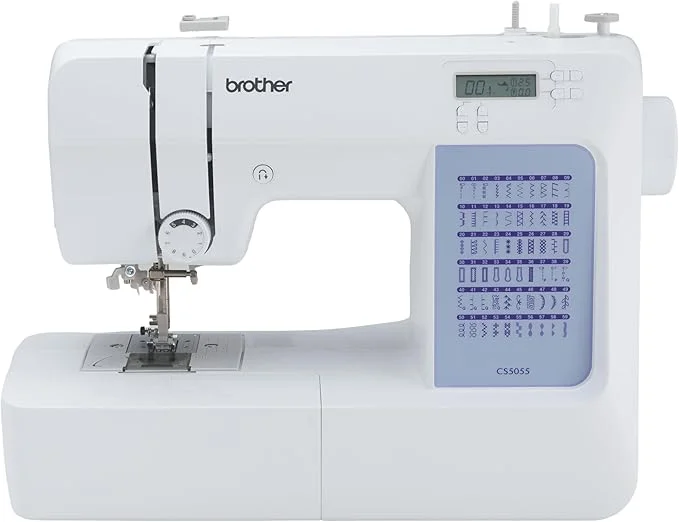
Brother CS5055 Computerized Sewing Machine, 60 Built-in Stitches, LCD Display, 7 Included Feet, White
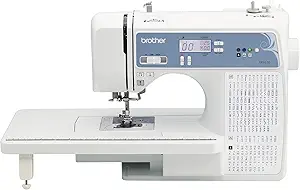
Brother Sewing and Quilting Machine, Computerized, 165 Built-in Stitches, LCD Display, Wide Table, 8 Included Presser Feet, White, 20x12x17
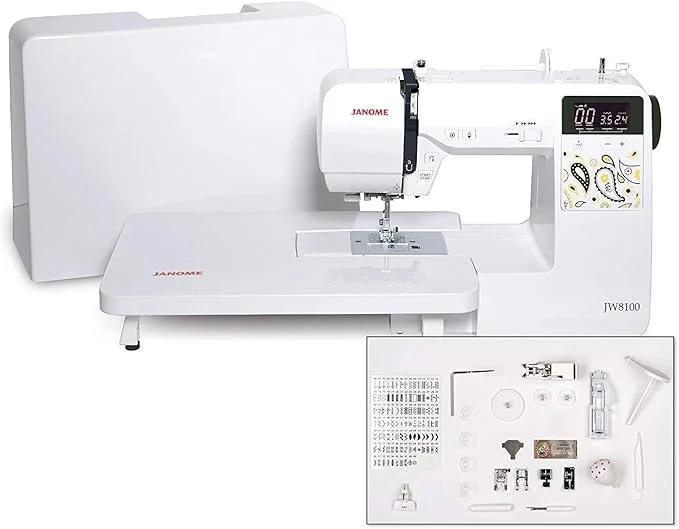
Janome JW8100 Fully-Featured Computerized Sewing Machine with 100 Stitches, 7 Buttonholes, Hard Cover, Extension Table, and 22 Accessories
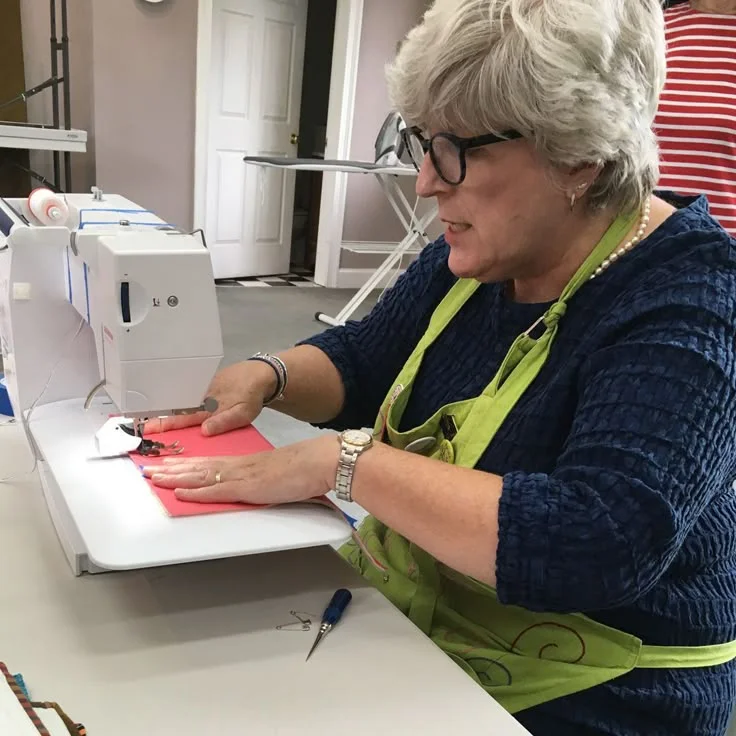
What is Machine Quilt?
Machine quilting is the process of sewing together the layers of a quilt—the quilt top, batting, and backing—using a sewing machine instead of doing it by hand. It’s a faster and more efficient way to finish quilts, especially larger ones, and it allows for a variety of quilting styles, from simple straight lines to intricate patterns.
There are two main types of machine quilting:
Straight-line quilting – Usually done with a walking foot; ideal for geometric or modern designs.
Free-motion quilting – Done with a darning or quilting foot; allows you to move the fabric freely in any direction to create curves, swirls, or custom designs.
What is a walking Foot?
A walking foot is a special sewing machine attachment designed to help feed multiple layers of fabric evenly through your machine. It’s especially useful when quilting, as it prevents the layers of your quilt sandwich—top, batting, and backing—from shifting as you sew. This helps eliminate puckering and gives your quilt a neat, professional finish.
Why Use a Walking Foot for Quilting?
A walking foot, also known as an even feed foot, is a must-have tool for quilting because it helps feed all three layers of a quilt—top, batting, and backing—through the sewing machine evenly. Unlike a regular presser foot that only moves the bottom layer using feed dogs, the walking foot has its own set of feed dogs on top. This ensures that the layers don’t shift, bunch up, or create puckers, especially when working on large or thick quilts. It’s particularly helpful for straight-line quilting techniques like stitch-in-the-ditch or echo quilting, where precision is key.
Quilters also love the walking foot for how well it handles bulky or slippery fabrics such as flannel, denim, or minky. It reduces stretching and distortion when sewing across bias seams or quilting for long sessions. The even pressure from top and bottom keeps everything aligned and smooth, saving time and effort. Overall, using a walking foot makes the quilting process more manageable, especially when you’re aiming for clean, professional-looking results.
What You’ll Need?
Before you begin, gather the following:
- Sewing machine with a compatible walking foot
- Quilt sandwich (top, batting, backing)
- Quilting pins or spray adhesive
- Quilting thread and matching bobbin
- Marking tools (chalk or water-soluble pen)
- Rotary cutter and ruler (optional but helpful)
Step-by-Step: How to Machine Quilt with a Walking Foot
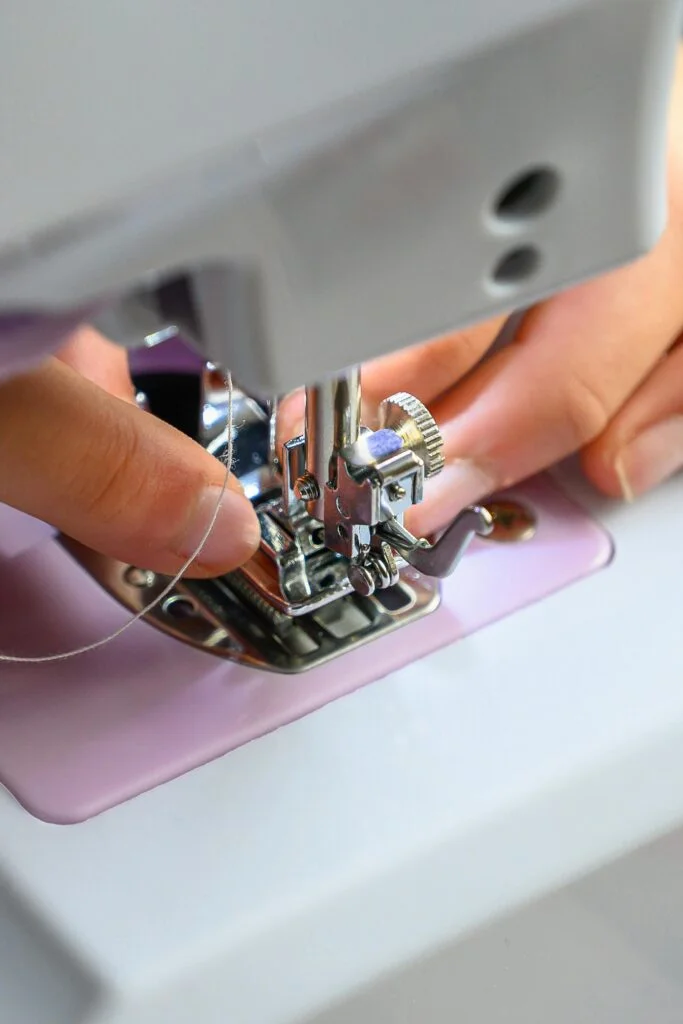
1. Install the Walking Foot
Attach the walking foot according to your machine’s instructions. Make sure it’s secure and the lever is resting on your needle clamp screw.
2. Prepare the Quilt Sandwich
Lay out your quilt backing (right side down), batting, and quilt top (right side up). Smooth out each layer and secure with basting pins or spray adhesive.
3. Mark Your Quilting Lines
Use a ruler and marking tool to draw straight or diagonal lines across your quilt top. These will guide your stitches.
4. Set Up Your Machine
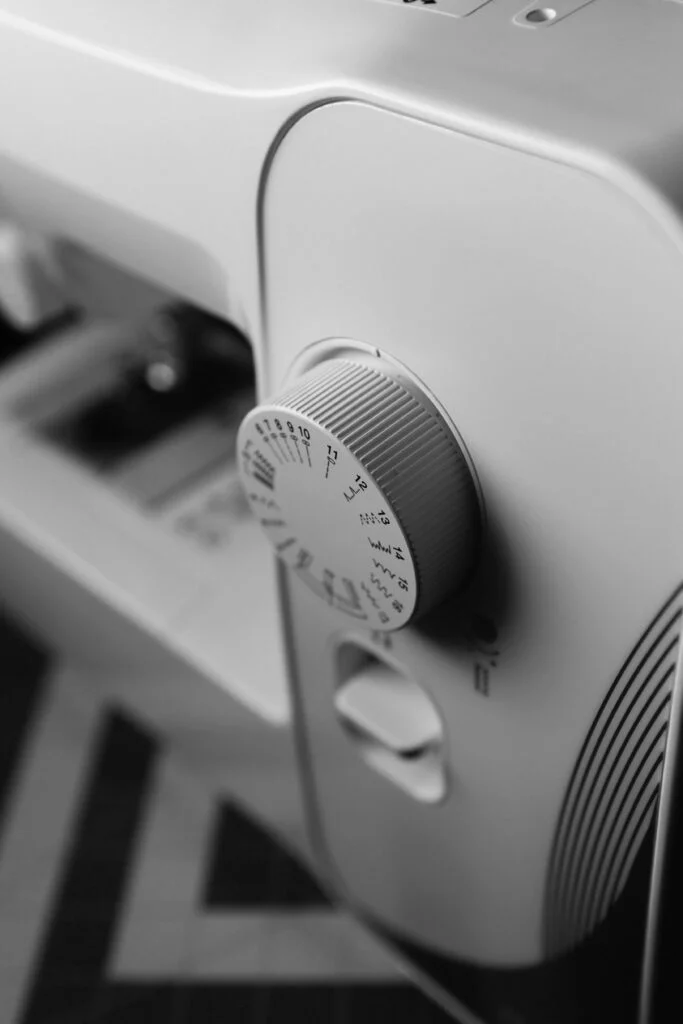
Choose a straight stitch with a slightly longer stitch length (3.0–3.5 mm works well). Make sure to test your stitch on a scrap sandwich before quilting the actual project.
5. Start Quilting
Begin at the center of your quilt and work your way out to prevent bunching. Backstitch slightly at the start and end of each line to secure your stitches.
6. Pivot or Turn Corners (If Needed)
If you’re doing grid quilting, lift the presser foot (with the needle down), pivot the quilt, and continue in the new direction.
7. Repeat and Quilt Evenly
Continue quilting along your marked lines, spacing your rows evenly. You can do vertical lines, diagonal patterns, or even echo quilting around shapes.
8. Remove Basting Materials
Once you’re done quilting, remove the pins or any temporary adhesive.
Tips for Best Results with a Walking Foot
Common Mistakes to Avoid
- Skipping the Basting Step: Always secure your layers before quilting.
- Using the Wrong Needle: Use a quilting needle, which is stronger and designed for multiple layers.
- Ignoring Tension Settings: Always test your stitches on a scrap sandwich to ensure proper tension.
- Over-handling the Quilt: Let the walking foot do most of the work—don’t push or pull your fabric.
Final Thoughts
Quilting with a walking foot is one of the easiest and most effective methods for beginners to finish a quilt on a home machine. It helps create neat, consistent quilting lines without the frustration of fabric slipping or bunching. With a little practice, you’ll gain the confidence to tackle bigger and more intricate quilt projects!
Leave a Reply